Interior painting per square foot: what building owners, managers, and strata need to know. Understand the factors that shape pricing, and how to avoid costly surprises.
When it comes to budgeting for painting interior common areas like lobbies, hallways, stairwells, and other high-traffic spaces, one of the first questions property managers and strata councils ask is “how much is it going to cost?” The answer isn’t one-size-fits-all. Factors like surface condition, paint quality, and the complexity of the space can all impact your price-per-square-foot pricing. In this article, we’ll break down what you can expect to pay for commercial and residential interior painting, what affects the numbers, and how trusted interior painting contractors in Vancouver will estimate the job.
*Keep in mind, this is a guideline for what to expect: costs will vary depending on the type and condition of the building being painted, access, preparation, and desired finishes.
From prep to finish, here’s what goes into painting a commercial interior common space.
Step 1: Site evaluation and scope
A reliable interior painting contractor will start with a thorough site evaluation. That means measuring all surfaces for square footage, identifying the materials to be painted, and understanding the building’s functional needs.
Consideration of these factors helps ensure accurate estimates and a successful project. This step sets the foundation for preparing a realistic cost per square foot budget.
Key considerations:
- Contractors should take precise measurements of every surface that will be painted, including high-traffic areas, ceilings, doors, and trim, to calculate material needs and estimate time and labour requirements.
- Identifying substrates: drywall, plaster, metal, wood. Different surfaces require different preparation work, as well as different types of paint and primers. Ensuring the proper products are used for the job at hand helps ensure longer-lasting results.
- Traffic levels and functional requirements. Areas with heavy foot traffic, like halls around elevators or doors, may need scuff-resistant or durable paint finishes to keep them looking fresh longer.
Step 2: Coordination and Labour
A successful interior painting project relies on careful coordination of trades and skilled labour. A reliable and conscientious contractor will work closely with all parties involved to minimize disruption and to ensure the job gets done efficiently and safely.
What this looks like:
- Coordinating with building managers and tenants to schedule work around peak traffic times, provide timely notices, and manage access, ensuring tenants’ or residents’ routines are respected.
Skilled trades for special needs may need to be organized for certain tasks like wallpaper removal, applying specialty coatings, or handling complex trim work.
Step 3: Access and logistics
Painting interior common areas in active locations like lobbies and stairwells requires careful coordination with building or property managers, as well as clear and considerate communication with those using the spaces.
Contractors must find safe, efficient ways to reach high ceilings or stairwells while also working around daily comings and goings of those in the building. Carefully planning access and scheduling helps minimize disruption for residents and tenants, while keeping the job running smoothly and efficiently.
Here’s what to expect:
- The use of ladders, step stools, and even small lifts, or scaffolding for hard-to-reach areas is the norm.
- Coordinating work in occupied spaces is key. This might include setting up barriers, posting clear signage, or temporarily closing off certain hallways or stairwells while work is underway and until the paint is dry.
- To avoid delays and disrupting daily routines, many contractors schedule painting during quieter hours like evenings, weekends, or off-peak hours. This approach helps keep foot traffic low, speeds up the work, and reduces frustration for tenants.
Step 4: Surface Restoration
Before the brushes come out or the paint cans get opened, walls and ceilings are inspected for dents, cracks, and holes. A lobby wall or stairwell can take a lot of abuse. Proper surface restoration ensures a smooth, durable finish and can include anything from minor patching to major repairs. Addressing existing damage upfront helps the paint last longer and keeps the interior looking professional.
What’s involved:
- Removing or replacing wall coverings as needed. Old wallpaper, panels, or other coverings may need to be removed or replaced.
- Addressing water stains, smoke damage, or signs of heavy wear. Heavy traffic marks, stains, or damage from leaks or smoke are treated with specialized cleaners or sealants before painting to prevent them from bleeding through the new paint finish.
- Repairing or removing textures on ceilings or walls. Textured surfaces like those old “popcorn ceilings” or other patterns may be removed, smoothed, or repaired to create a clean canvas for painting and an updated look.
- Performing major drywall repairs. Large holes, cracks, or structural damage in walls are properly rebuilt or patched with professional-grade materials to ensure a durable and seamless finish. The last thing you want is to see old damage through your freshly painted walls.
Step 5: Surface Prep
Once repairs are complete, surfaces need to be properly prepared to ensure a smooth, professional-looking finish.
Key tasks include:
- Cleaning walls, ceilings, and trim to remove dust, dirt, grease, and scuffs that could prevent paint from sticking or create an uneven finish.
- A light sanding will smooth out repaired areas and imperfections in the walls. Then, primer is applied to help paint adhere and for durability. Caulking is used to seal gaps along casings, trim, and joints for a seamless look once the paint goes on.
- All floors, handrails, fixtures, and edges are masked to prevent accidental splatters or drips, keeping the common areas safe and clean throughout the project.
Step 6: Paint Selection
Just like if you were painting your own home, choosing the right paint for interior common areas is crucial for lasting durability, safety, and aesthetics. Selecting paints that suit the specific traffic levels in different parts of the building, as well as the occupants’ needsensures a durable, long-lasting finish, and a healthy environment to live and work in.
Key considerations:
- Durable, washable paints for high-traffic areas like hallways, lobbies, and stairwells that often see heavy use help maintain a clean, fresh appearance over time.
- Low-VOC or odour-free paints for occupied buildings to minimize disruption and maintain indoor air quality. Not just safer, but this also allows residents to continue using the space safely during painting.
- Certain spaces may benefit from specialty coatings, such as anti-microbial paints (for instance, in healthcare facilities or seniors’ homes), which offer extra protection against germs and wear.
Step 7: Painting Process
With all the surfaces prepped and paints selected, it’s finally time to move on to the actual painting. This is where the roller hits the wall! This stage involves applying the coatings smoothly and evenly to achieve a sharp-looking, long-lasting finish. Proper technique, attention to detail, and the right tools all play a role in how the final result looks, and importantly, how long it lasts.
Here’s what the process looks like:
- Applying primers where needed, especially on repaired areas or bare substrates, to ensure better paint coverage and adhesion.
- Skilled painters use rollers, brushes, and sometimes sprayers to apply the paint evenly, working systematically to avoid drips, streaks, or uneven layers.
- Many situations, especially if the new colours chosen are significantly darker or lighter than the original colour, often require two or more coats of paint for durability, washability, and colour consistency. The same goes for high-traffic areas where an extra coat means extra protection.
- The human eye likes to follow lines and edges, so attention to detail on corners, door frames, railings, and other detailed features makes for a more professional look.
Your contractor should be monitoring coverage and finish as they work, adjusting the technique or doing touch-ups as needed to meet the standard expected in commercial interior painting.
Step 8: Coordination, Cleanup & Final Inspection
After the paint goes on, the project isn’t complete until the space is cleaned, protected, and inspected. Interior painting contractors ensure that common areas are returned to a safe, functional state and that the work meets both aesthetic and durability standards.
Tidying up:
- Final touch-ups, minor imperfections, or missed spots are touched up and addressed to ensure a flawless finish.
- Cleaning up the workspace involves checking for and removing any splatters are cleaned up. Drop cloths, masking tape, and protective coverings are removed, leaving hallways, lobbies, and stairwells ready for use.
- Verify with building management that all work was completed according to schedule, and communicate with building managers or strata councils to confirm satisfaction and answer any questions.
- A thorough quality inspection walkthrough is conducted to ensure that surfaces are smooth, finishes are even, and the project meets professional standards for commercial interior painting.
Breaking down the cost by square foot
When budgeting for painting interior common areas, understanding the cost of painting per square foot is key.
Unlike floor space, which usually just relies on the perimeter of a room to calculate, a painting contractor must carefully calculate the actual wall and ceiling surface areas involved. If you think of the square footage of a floor plan a 2D image, the square footage of the walls and ceiling makes that image 3D.
Rooms with the same floor space as one another can require very different amounts of paint if the ceilings are higher or there are more architectural details.
Typical Interior common space painting cost per square foot
| Space Type | Typical Range | Notes |
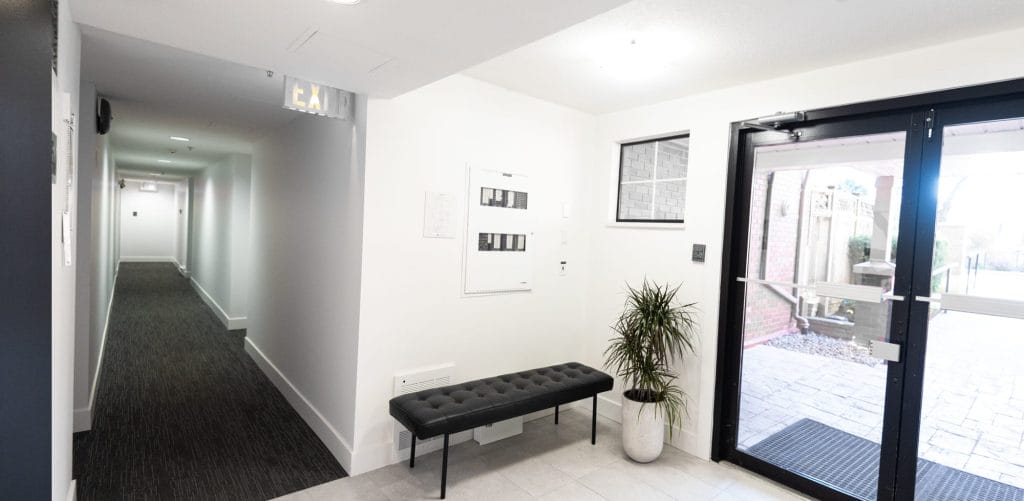
| Hallways & Corridors | $1.25 – $2.50 | Can vary, depending on prep work, trim, and scheduling complexity. |
| Stairwells | $1.50 – $3.00 | Often results in extra cost for height, setup safety, and masking. |
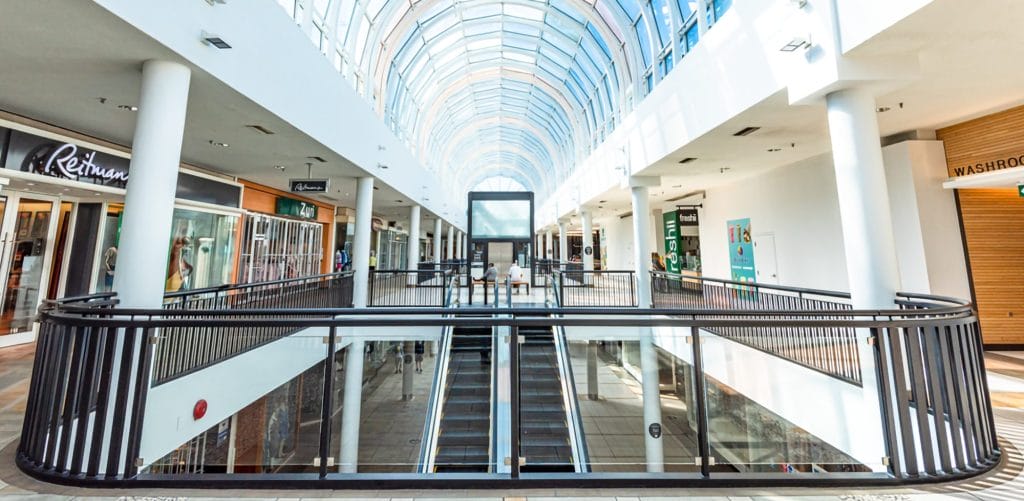
| Lobbies / Reception Areas | $2.00 – $4.00 | Higher quality finishes, decorative trim, or specialty coatings can be more expensive. |
| Service / Utility Rooms | $1.00 – $2.00 | Often less costly, due to simpler prep work involved, and less elaborate finishes. |
There’s more to painting a space than just painting
You can see there are several factors that can influence the painting cost per square foot for interior common areas. Understanding these variables will help building managers and strata members plan realistic budgets and avoid surprises at the end of the project:
- Wall and ceiling height and access
Taller ceilings, multi-story stairwells, or narrow corridors will require ladders, lifts, or scaffolding. These add both labour and equipment costs. - Surface conditions
Walls and ceilings that are damaged, stained, or textured need extra prep work like patching, deep cleaning or extra priming, sanding, and smoothing. More prep means more labour and even materials, which affects the overall cost. - Paint type and finish
Specialty paints like scuff-resistant, washable will cost more than standard finishes, though the higher initial cost can be offset by providing better durability and safety in high-traffic areas. low-VOC, or anti-microbial coatings, provide a more comfortable application process and safety. - Logistics and scheduling
Coordinating work around tenants’ and residents’ schedules, limiting disruptions, or having to phase work over multiple days can increase labour costs and complexity.
Time of year
Humidity and temperature, particularly in Vancouver, can affect drying times and scheduling.
Our top tips for managing interior painting costs
As you see, there are many factors that affect painting costs per square foot. There are, however, some practical ways for you as a building owner, property manager, or strata to make smarter decisions when planning interior painting for your common area, and keep your project on budget without compromising quality:
- Plan ahead and combine projects
Scheduling multiple areas for painting all at once to reduce labour and setup costs compared with separate, smaller projects. - Prepare surfaces in advance
Calling all DIYers! Fixing minor dents, holes, or stains yourself before the contractor arrives can reduce labour hours and associated costs. - Go for durable, low-maintenance finishes
Investing in scuff-resistant or durable, washable paints may cost a bit more upfront, but they can save money in the long run. - Time it right
Painting during milder months, when humidity and temperature are optimal, can speed up drying and reduce scheduling delays, especially in locations like Vancouver. - Get multiple quotes
Comparing bids from experienced interior painting contractors in Vancouver will help you feel more confident that you’re getting fair pricing per square foot.
Carefully consider access and scheduling
The easier it is for your contractor and labourers to move around in hallways, stairwells, and lobbies, the more efficiently they can work, which will speed up the process and reduce labour costs.
A successful project is about more than a fresh coat of paint. Doing it right means careful prep, planning, and the right materials that make it last. Since painting cost per square foot depends on ceiling height, surface condition, and scheduling, working with an experienced interior painting contractor in Vancouver ensures accuracy and quality.
Well-painted lobbies, hallways, and stairwells don’t just look good; they add value to your building, reduce maintenance, and create a welcoming space for everyone.
When it comes to painting interior common areas, working with seasoned professionals makes all the difference.
At WCP, we bring expert knowledge of local building materials, conditions, and Vancouver’s unique climate. We have dependable access to premium, durable paints that keep high-traffic interiors looking their best.
Our projects are backed by warrantied workmanship and strict safety compliance, so you can rest easy knowing everything is covered.
And with our experienced and efficient project management team, we know how to keep disruptions to a minimum while delivering results that last.
When you’re ready to transform your building’s common areas, WCP is the team to trust.
Peace of mind is included in every project
At WCP, our work doesn’t end when the paint is dry and the scaffolding comes down. We proudly back all our work with our industry-leading WCP PROTECH Warranty & Maintenance Program.
- Up to 5 years of warranty coverage
- 2-year maintenance follow-ups
- A detailed completion and maintenance manual
It’s more than just a warranty; it’s our way of providing peace of mind that the investment you’ve made in your building will continue to pay off well into the future.
Ready to refresh your building’s common areas?
Request a custom interior painting quote and put real numbers to your project.
For more information on these and our other services, contact us at [email protected] or call us at 604-420-5552
Protect your property and plan with confidence. Reach out today for a free, no-obligation quote.


